A quick and fun paper diy(
(Am posting some previously posted diy’s this week to encourage everyone to start thinking spring and spring projects. It’s supposed to be fifty-five degrees later this week. Guess who’s heading to the garage to putter and paint? Today’s post shows you some great ways to use scrapbook or art papers. I have tones of scrapbook paper and I don’t even “scrap”. But I love paper projects. They’re usually cheap and quick.)
You’ve heard me write often about “teeny, tiny, red cabin”
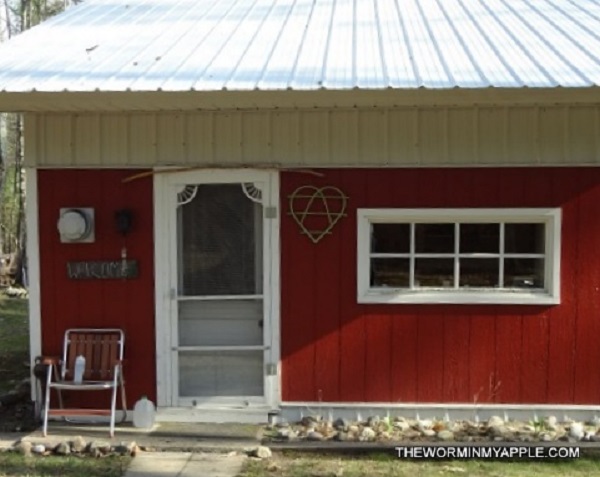
Teeny Tiny Red Cabin
and the bunk house (called “La Cabinette”) often.

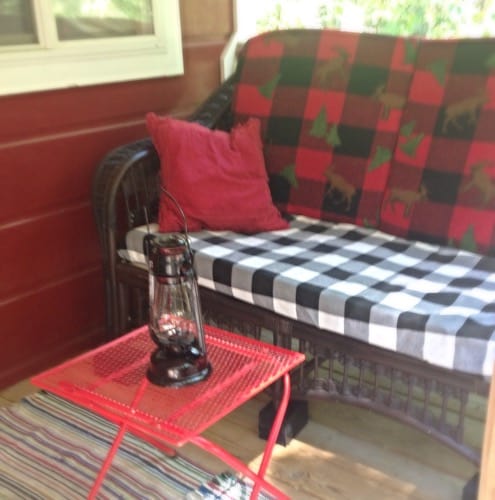
The picture below is the most recent update to the bunkhouse porch. You can read that post for the details.
 I’m so looking forward to heading up there this spring. I’m always changing something at the bunk house, just because I can. The cabin is painted white on the inside with wood grain showing through. The ceiling is painted a wonderful pale blue-green.
There is a skylight and when it gets warm I drape a piece of canvas over the beams to block the heat. Our home up north is my place of peace.
I could go on.
But I wanted to show you what I created last year. As you will tell from the pictures, we left the walls of the bunk house unfinished so I could have narrow shelves. I add more shelves every year.
Ask me why.
“Why”, you ask?
OK. I’ll tell you. It’s simply because this way I have somewhere to add all the new things I might create.
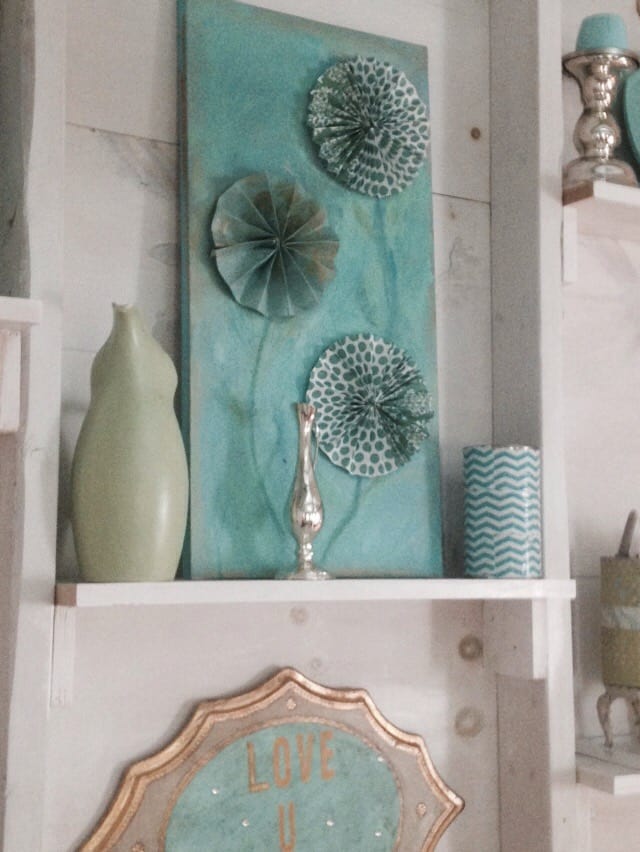
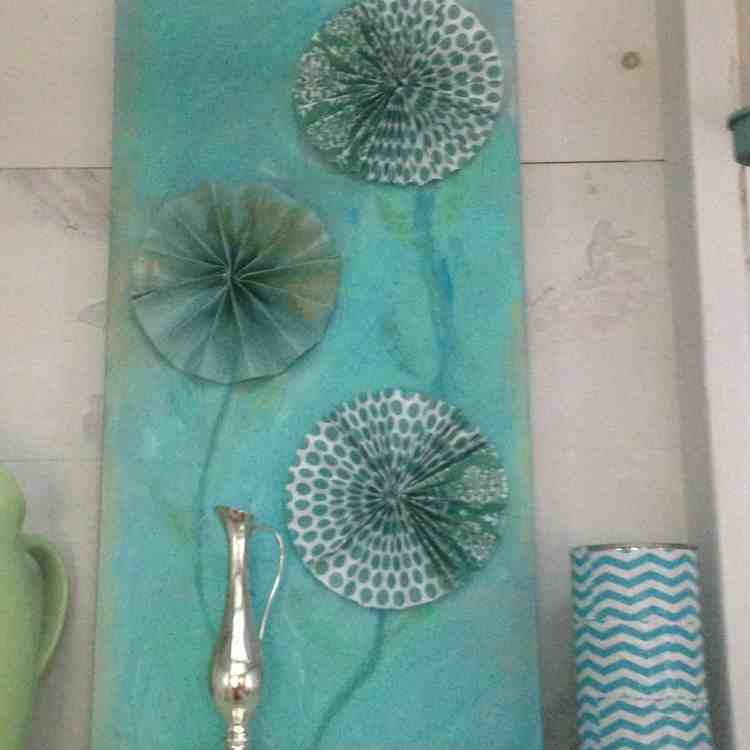
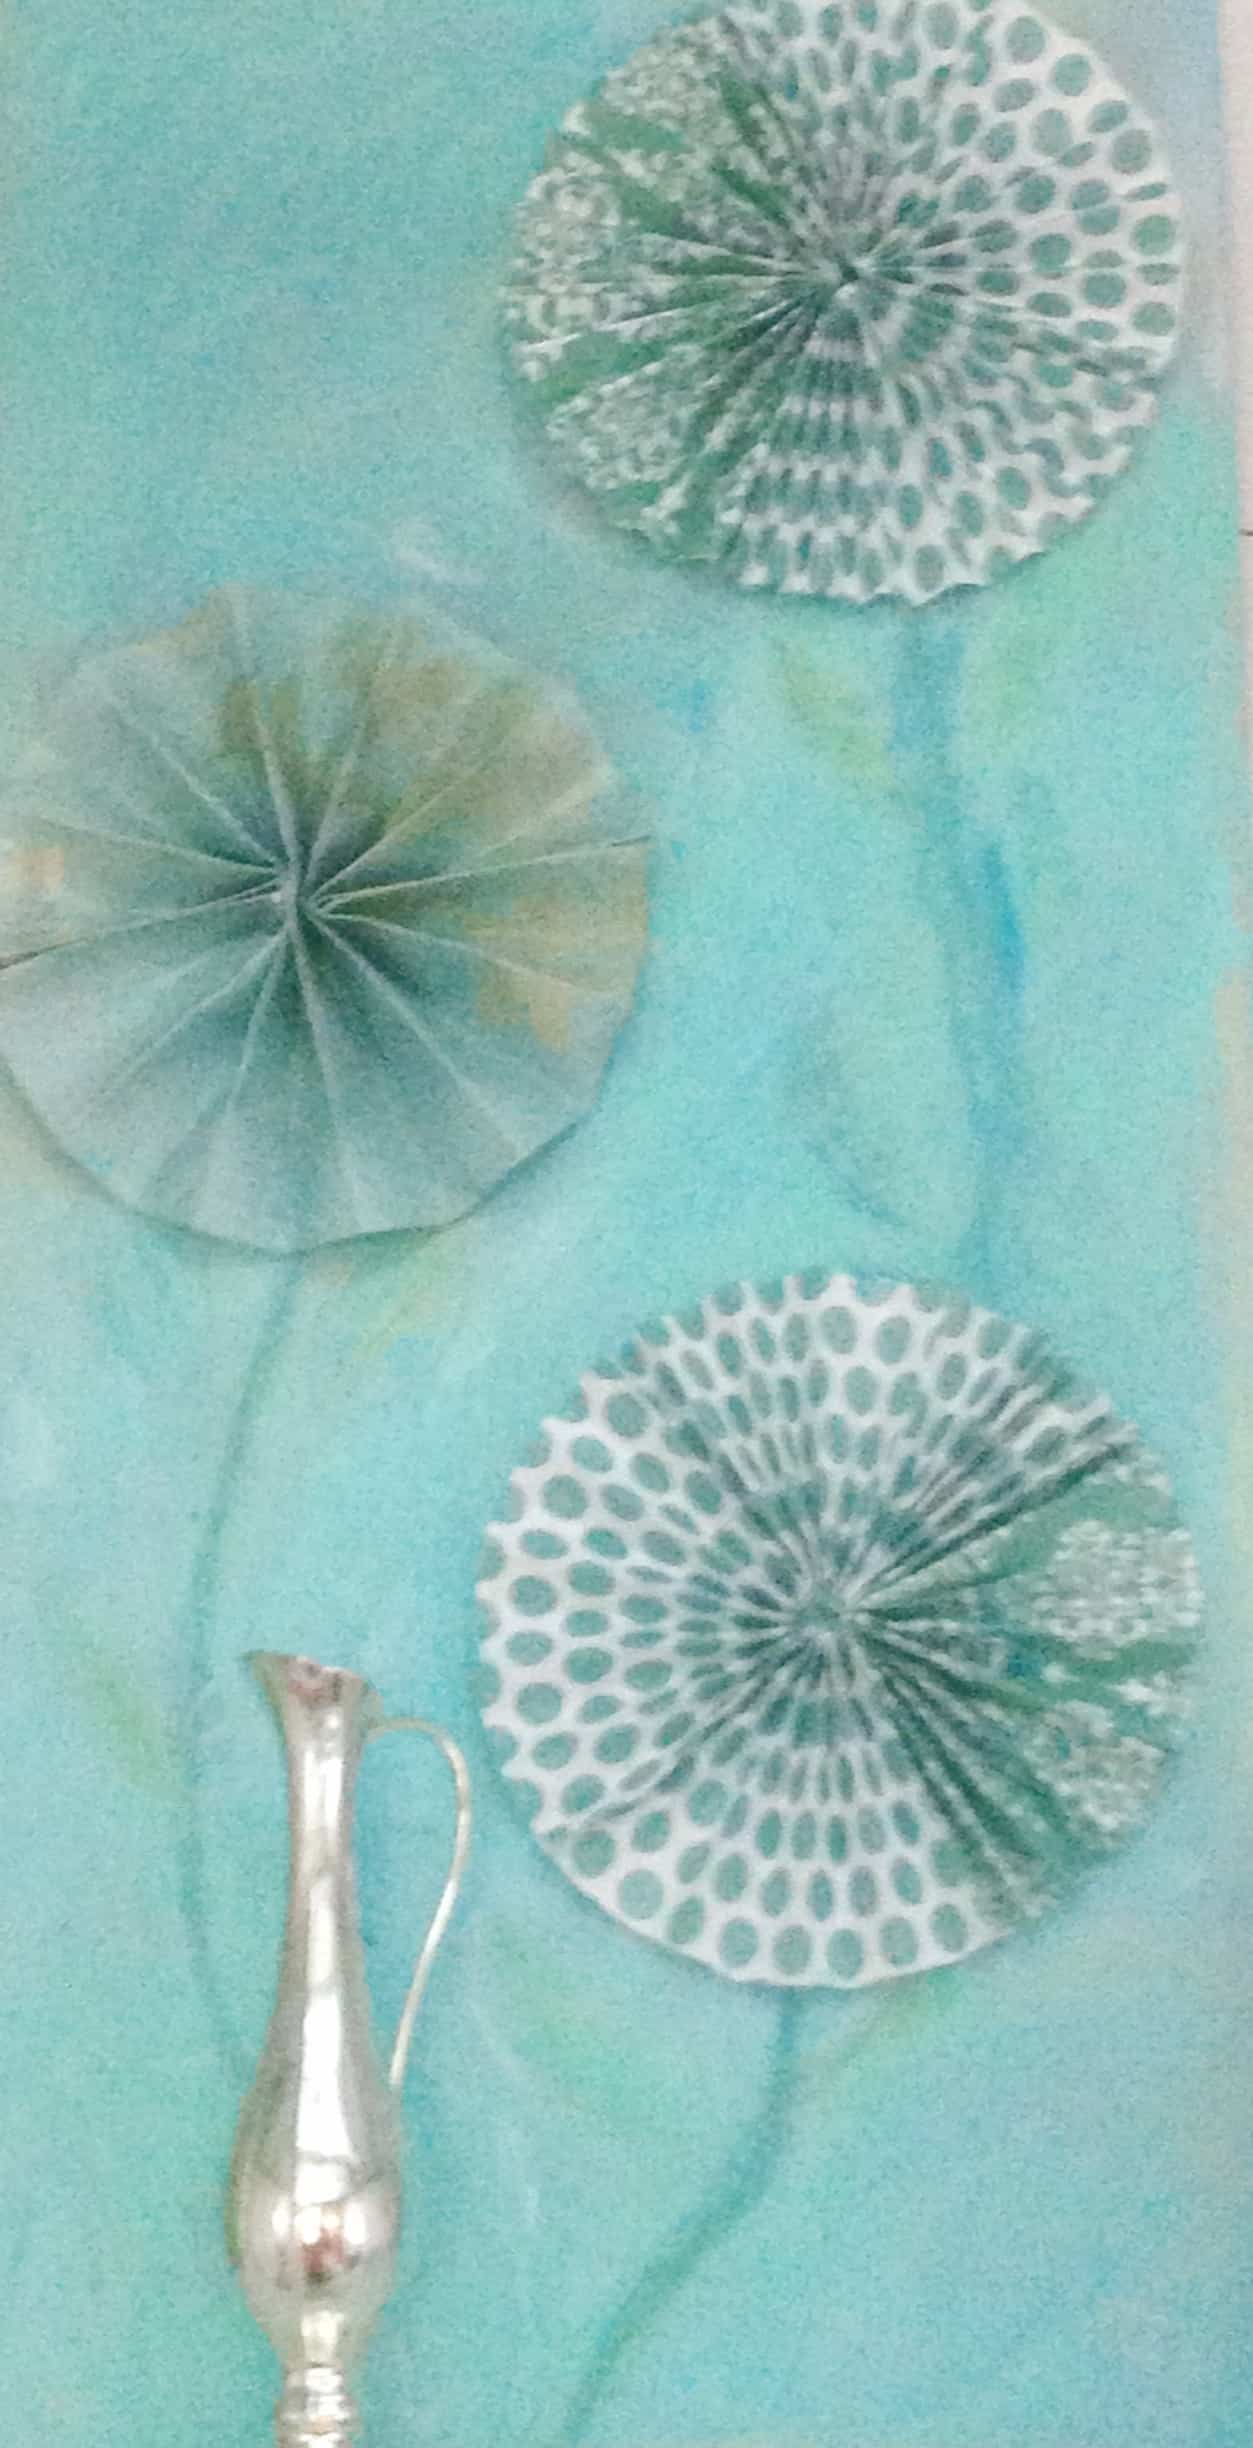
All I did was brush on various shades of blue and green acrylic and blend them together in a haphazard way. Then I placed the paper rosettes and added some loosely defined stems. That’s it.
This summer I think I’ll add some stick-on rhinestones in the center and collage on some leaves using various torn papers.
Here’s a link for the paper pinwheels.
Hope you got inspired.
God bless and I hope you have a good day
